In today’s age of immediate satisfaction, it is crucial for businesses to uphold a smooth customer experience. Fast-loading websites are essential. Research shows that 1 in 4 visitors would abandon a website that takes more than 4 seconds to load. Frequently, the main culprits behind a slow website are images that are too large and insufficiently optimized.
While image quality is key to creating a visually compelling website, image optimization is equally important. Optimizing images can yield substantial advantages, such as quicker site loading, enhanced user experience, and improved rankings in search results (including Google Images).
In this guide, we will demonstrate the process of optimizing your images to enhance web performance.
What does Image Optimization entail?
When optimizing images for the web, our goal is to provide the most compact file size possible without compromising overall quality.
While the process may seem complex, it is actually straightforward, and numerous web applications are available to assist you with the task. You might be surprised to discover that the size of most images can be significantly reduced without any noticeable compromise in image quality.
In the background, a compression algorithm is at work. The two predominant compression algorithms are “Lossless” and “Lossy.”
Lossy image compression entails selectively discarding data from your image file to reduce its overall size. While lossy compression algorithms can substantially decrease file sizes, there is typically a trade-off – a decline in image quality.
Unlike lossy compression, lossless image compression preserves image quality by not compromising the integrity of the photo. This is achieved by removing surplus, non-essential data that was added by the device used to capture the photo. However, the trade-off is that the reduction in image file size is not as substantial as with lossy compression.
What advantages does Image Optimization offer?
The three key benefits of image optimization include:
- Quicker load times
- Enhanced search performance
- Reduced storage and bandwidth usage
Quicker Load Times
Did you know that, on average, a webpage renders 21 images per page load on desktop and 19 images on mobile? Surprisingly, one of the simplest measures to cut down on load time is to shrink image sizes, yet many web designers overlook this step. By minimizing image weight, your website will load faster, leading to an improved browsing experience for visitors.
Enhanced Search Performance
Google incorporates page speed into its ranking algorithm, and Google PageSpeed Insights offers valuable tips for optimizing web pages, including images. Resizing and appropriately naming images not only improves webpage speed but also boosts performance in Google image search results, a vital source of traffic for e-commerce websites.
Reduced storage and bandwidth usage
Resizing and compressing images not only enhance website performance but also contributes to efficient server space utilization, reduced bandwidth usage, and faster backup runs. In simpler terms, it can lead to cost savings on your upcoming hosting bill.
What are the Steps for Optimizing Images?
The three steps that every webmaster should take:
- Select the appropriate file format
- Resize and compress
- Name the image files
Select the Appropriate File Format
When optimizing images for websites, webmasters typically concentrate on three primary file formats: JPEG, PNG, GIF, and WebP. Selecting the appropriate format is essential for successful image optimization.
Opt for JPEGs and WebPs when dealing with photos featuring rich colors. Choose PNGs for simple and transparent images, such as logos. Additionally, WebPs are suitable for animated images, while GIFs are an option with a color limit of 256.
For those unfamiliar with file type distinctions, it’s important to note that the PNG format is uncompressed, albeit with larger file sizes. Conversely, JPEG and WebP are compressed formats that sacrifice some image quality (lossy compression) to achieve substantially smaller file sizes.
Resize and Compress
Usually, when you import a photo from your phone or camera, it often carries high resolution and large dimensions in terms of pixel width and height. While these high-quality photos are suitable for printing, their large sizes may be impractical for website usage. Resizing the image dimensions to be more web-friendly can significantly reduce the image file size.
After resizing your image to the desired width and height, you can optimize it further through compression.
Name the Image Files
Among our three optimization tips, this is undoubtedly the simplest. Ensure your image files are named with pertinent keywords and remember to include alt attributes!
While it might be convenient to use default names when uploading images, doing so can cause you to miss out on search engine traffic. Search engines not only analyze your webpage text but also take into account the names of your image files when indexing image search results. Alt attributes act as text alternatives for images, playing a crucial role in web accessibility when browsers face difficulty rendering images.
5 Best Image Optimization Tools
There are some great optimization tools at your disposal. Below are our preferred web apps, and they are CMS-independent.
Resize.com
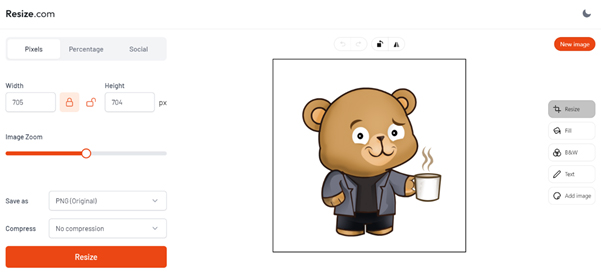
Resize.com stands out as one of the best and easiest online image resizers. It facilitates resizing by pixel, percentage, and for various social media platforms. The tool supports image compression and file conversion between JPG, PNG, PDF, and WebP formats. With a clean and intuitive UI, it is a great go-to optimization tool. The app, at this time, is free with no limitations on the number of images you can resize.
OptimizeImages
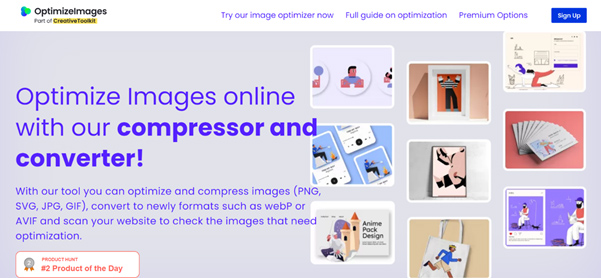
OptimizeImages excels in compressing diverse image formats like PNG, SVG, JPG, and GIF. It also enables the conversion of images to formats such as WebP or AVIF, leading to enhanced efficiency and smaller file sizes. Moreover, the tool features a built-in web scanner that identifies optimization requirements throughout your website, ensuring all images adhere to the highest performance standards. It’s a freemium application, Pro packages start at $9 per month.
TinyPNG
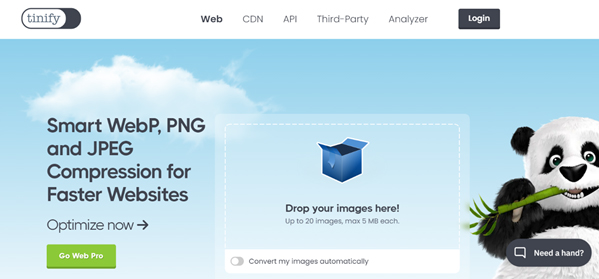
TinyPNG stands out as one of the internet’s most renowned optimization applications, trusted by some of the world’s leading brands. It offers a web app, API, and WordPress plugin. While the compression results are remarkable, access to unlimited features requires a subscription to their Pro packages, starting at $39 per month.
Kraken.io
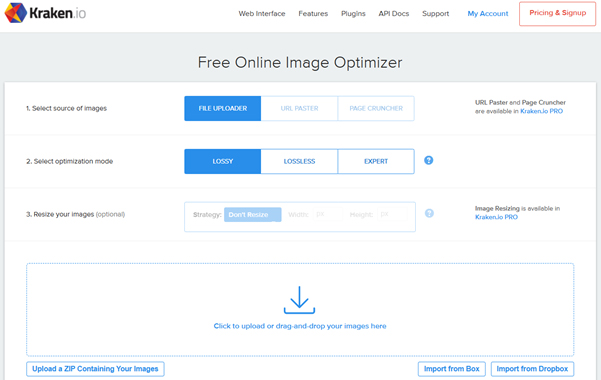
Kraken.io is a powerful, high-speed image optimizer and compressor. It excels in saving bandwidth and storage space while significantly enhancing website load times. The web interface enables online image optimization without the need for an account. Additionally, Kraken.io offers an enhanced Pro version, an API for developers, and plugins for WordPress and Magento. Pro packages start as low as $5 per month.
Compressor.io
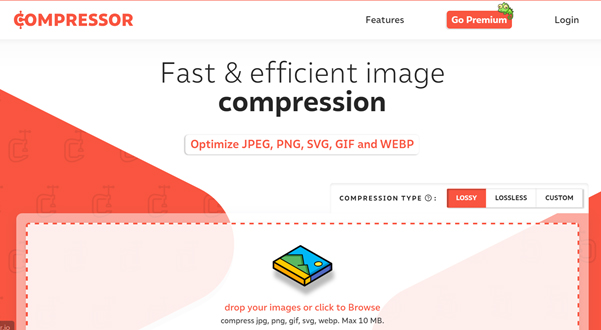
Compressor.io provides the flexibility to choose between lossy or lossless compression, striking the optimal balance between image quality and file size. The Pro package, priced at $50 per year, includes features like optimizing image sizes up to 20MB, unlimited image compression, the ability to choose compression quality, and image resizing.
In Summary
The main point emphasized in this article is that smaller image files lead to quicker loading times, crucial for a smooth and enjoyable user experience. Additionally, reduced file sizes contribute to lower bandwidth consumption, enhancing website accessibility across diverse devices and network conditions. Prioritizing image optimization and compression is, therefore, essential for achieving optimal website performance, enhancing user satisfaction, and positively influencing factors like SEO and user engagement.
The post How to Optimize Images for Optimal Website Performance ? appeared first on .